mywifiext net setup -www mywifiext local
Configure or fix your Net gear WiFi extender hassle-free via Mywifiext-extendersetup.sbs—click the links below for a quick fix.Need help setting up or troubleshooting your Net gear WiFi range extender via Mywifiext? Click the links below for a quick solution.
Mywifiext Net
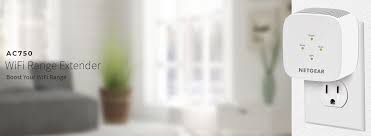
Mywifiext.net is the official web portal for configuring and managing your Net gear range extender. Whether you’re setting up a new extender or managing the settings of an existing one, this platform provides easy access to perform necessary adjustments.
Looking for guidance on how to set up a Net gear Extender through the Mywifiext.net setup wizard? If you’re facing difficulties with the process, you’re in the right place! This article will show you how to improve your internet connection using the Net gear range extender and ensure optimal performance without compromising bandwidth.
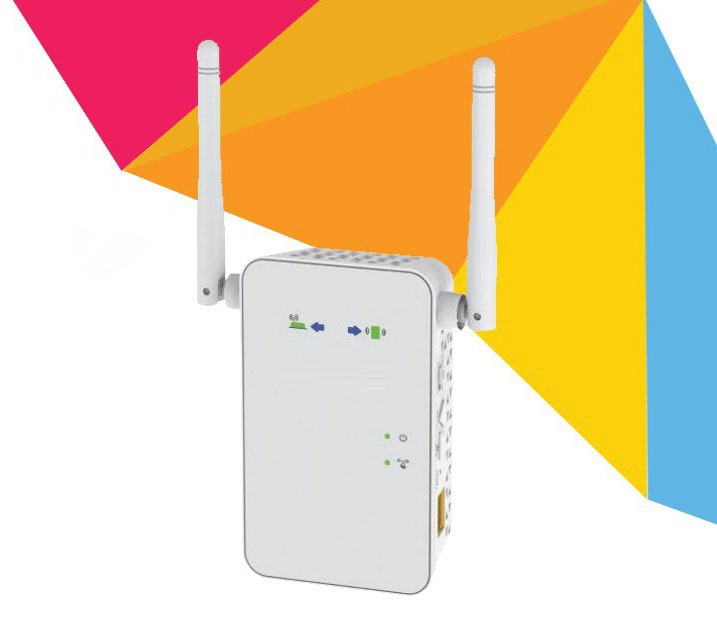
Mywifiext is an essential tool that enhances internet connectivity through both wired and wireless devices. We can’t imagine daily life without the internet, and with the help of a WiFi extender, you can enjoy seamless connectivity throughout your home or office. The Mywifiext setup wizard is a straightforward system to configure a new Net gear Range Extender, and once set up, you won’t need to reconfigure it every time you move it to a new location.
Unable to Access www.mywifiext.net?
If you are facing issues with accessing www.mywifiext.net, try the following solutions:
- Ensure your extender and router are placed closer to each other.
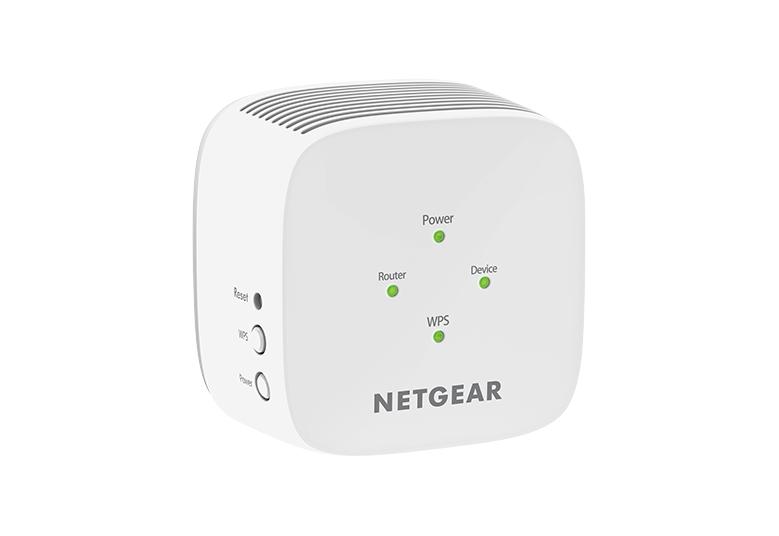
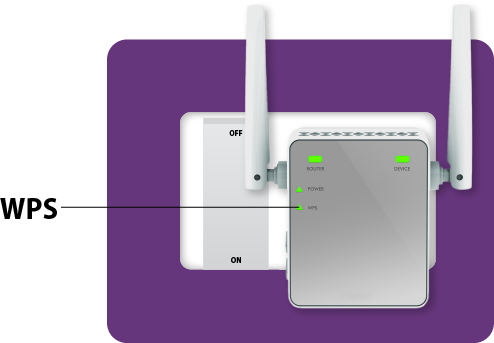
- Wait for the power LED to turn solid green after plugging in the extender.
- Use a different browser, such as Mozilla Firefox or Google Chrome.
- Try logging in with the IP address if the web address doesn’t work.
- Reset your router and extender and reconnect them.
- Use an Ethernet cable to establish a connection for setup.
Login Steps for www.mywifiext.net Net gear Range Extender
Follow these steps to log in to your Net gear range extender:
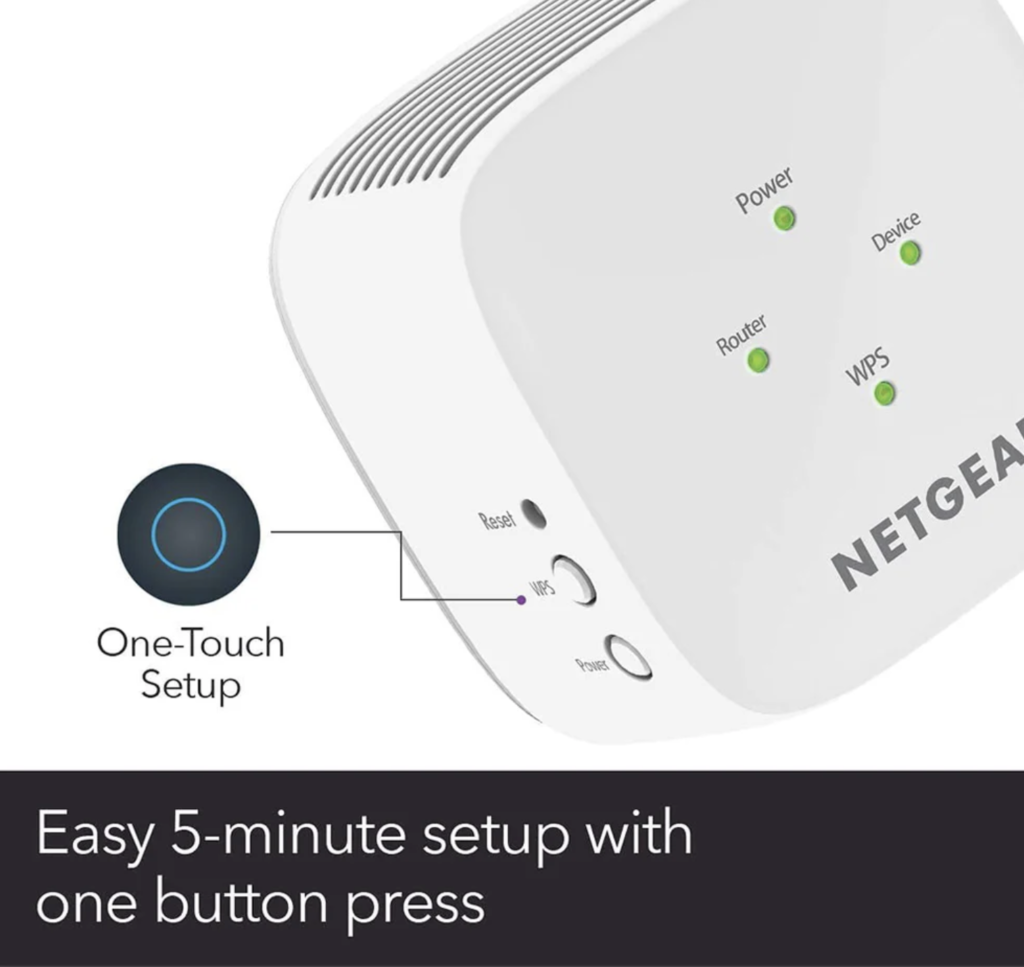
- Unbox and plug in the extender.
- Ensure your computer is connected to the Wi-Fi network.
- Open your web browser (such as Safari) and enter www.mywifiext.net.
- Enter your username and password on the login page.
- Proceed with the setup and enjoy your fast internet connection.
Manually Set Up Your Net gear Wi-Fi Range Extender with www.mywifiext.net
To manually configure your Net gear extender, follow these steps:
- Plug in the Wi-Fi extender.
- Wait for the power light to indicate that the setup has started.
- Connect your router to the extender and your computer.
- Open your browser and enter the IP address or www.mywifiext.net in the address bar.
- Log in with your username and password.
- Select the desired Wi-Fi network and enter the password.


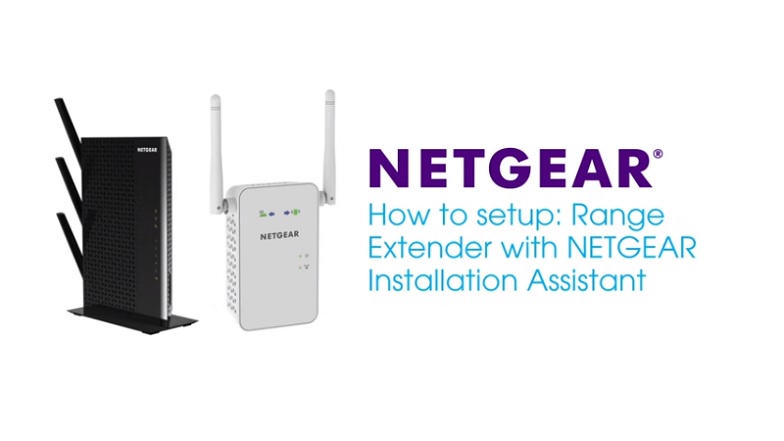
www.mywifiext.net Setup
This interface allows you to set up and manage your Net gear Extender by adjusting settings such as the username, password, and more. Follow these simple steps to complete your setup:
- Unbox your Net gear extender and plug it into an electrical socket.
- Ensure your router is powered on and that both the router and extender are connected properly.
- The extender will automatically open the Mywifiext.net website. If it doesn’t, manually enter www.mywifiext.net in the address bar of any web browser.
- The next step involves registering your new Net gear extender. If you’re setting up an existing extender, use the Net gear login page.
- After logging into the Mywifiext setup wizard, follow the prompts for the new Net gear extender setup.
- Once all changes are made, click the Save button. Then, restart your extender by unplugging it and plugging it back in.
Benefits You Get from Mywifiext.net Net gear Range Extender Setup
- Extends the range of your wireless network.
- No need for additional cables or wiring.
- Provides a strong Wi-Fi network coverage.
- Dual-band extenders offer reliable connectivity.
- Boosts performance when paired with the right router.
Troubleshoot Tips to Access Mywifiext.net Net gear Extender Login Page
If you are having trouble accessing the Mywifiext.net login page, follow these simple troubleshooting tips:
- Place Your Extender Closer to Your Router.
- Wait for the Power LED to Turn Green.
- Try a Different Web Browser.
- Access via IP Address Instead of the URL .
- Reset Your Web Browser and Reconnect the Extender.
- Use IP Address for Extender Login.
- Establish Connections Using an Ethernet Cable.
- Verify the LED Status on Your Extender.
- Confirm the Proper Power Supply to the Extender.
- Use a Wired Connection if Facing Wireless Issues.
- Set a Static IP for Your Extender.
- Reset Your Internet Router if Issues Persist.
Easy Way for Net gear Range Extender Setup via www.Mywifiext.net Setup Wizard
Are you looking to set up a new Net gear extender? Here’s how you can easily set it up:
- Plug your extender device into an electrical socket and power it on.
- Ensure that both the router and the extender are connected.
- The extender should automatically open the Mywifiext.net website. If it doesn’t, type www.mywifiext.net into the browser’s address bar.
- Register your new Net gear extender or log in if you’re using an existing device.
- Follow the setup instructions provided in the wizard to complete the installation.
- Save your settings and reboot the device.
How to Setup Net gear Range Extender as Your Access Point?
If you wish to use your Net gear extender as an access point, follow these steps:
- Plug in the Net gear extender and wait for the solid green light to appear.
- Connect the extender to your router using an Ethernet cable.
- Connect any wireless device to the extender’s network, which should be named Net gear_Ext.
- Open your preferred web browser on your computer or laptop.
- Enter mywifiext.net, http://mywifiext.com, or in the address bar to access the Net gear Genie Setup wizard.
- Choose whether you want to set up the extender as an access point or as a Wi-Fi extender.
- Proceed through the setup wizard to configure your network settings.
- After configuration, connect your devices to the newly created network.

Steps to Change Username and Password of Net gear Range Extender via Mywifiext.net
Once your Net gear Range Extender is set up, it’s essential to change the default username and password to keep your network secure. Follow these steps to change them:
- Open a web browser on your computer or laptop connected to the Net gear extender.
- Navigate to the login page (mywifiext.net) and enter the current username and password.
- Go to the password settings page.
- A new window will pop up where you can choose to change either the username or password.
- Enter the new credentials and confirm them.
- Save the changes and log in with the new username and password.
If you’ve forgotten the login credentials, you can recover them by entering the model or serial number of your extender.
Troubleshooting Common Issues
Though the MyWiFi EXT Extender is designed for simplicity, you may encounter occasional issues. Here are some common problems and their solutions:
Connection Issues
Slow Speeds
Resetting the Extender
FAQs About Mywifiext-extendersetup.sbs
Ideally, place your extender halfway between your router and the area with poor WiFi. Avoid corners, walls, or any spots with heavy electronic interference.
This could be due to interference or a weak connection to the router. Try relocating the extender and ensure it’s well within range of the router.
Yes but be mindful of overlapping coverage areas to prevent interference. Each extender should connect directly to the router, not to another extender.
Most Netgear extenders are compatible with any standard WiFi router. Always check the product specifications to confirm compatibility.

Mywifiext.net Mywifiext-extendersetup.sbs Login Not Working? Know the Reasons
If you’re unable to access the Mywifiext.net login page, here are some potential causes:
- Outdated firmware on your Net gear extender.
- The extender is not in default mode.
- Incorrect IP address entered in the browser’s address bar.
- Router settings do not match the extender’s wireless settings.
- The extender and router are not placed in the same room.
- Issues with the browser you are using.
- The extender’s WPS button is present, but your router lacks one.
- Incorrect URL entered in the web browser.
- The extender is not properly connected to the power outlet.